Since my home lab basically lives on a laptop with 32GB of RAM i needed a solution to get more “horsepower” to manage the growing demand for additional use cases. In this multi part article i’ll show you how to extend your home lab into a nested VMC on AWS environment with nothing more as a Raspberry Pi.
Step 1 – “You had me at ‘hello.’”
First of all we need to set up DynDNS to ensure access when IP addresses change. Furthermore we have to forward the port 1194 to the IP address of the Raspberry on your router.
How this is done depends on your router model.
There are different providers for these services. Some of them have their own implementation for Linux / Raspbian. I decided to use a less known provider which is sufficient for my purposes.
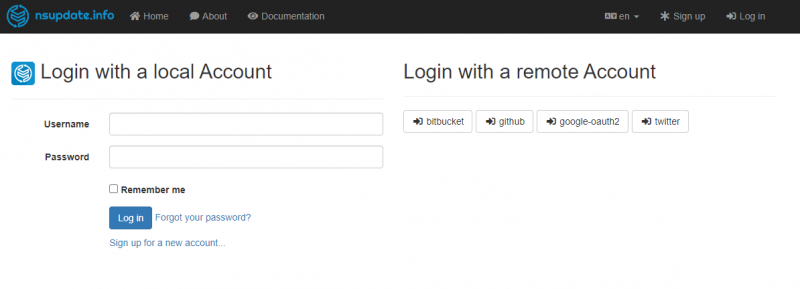
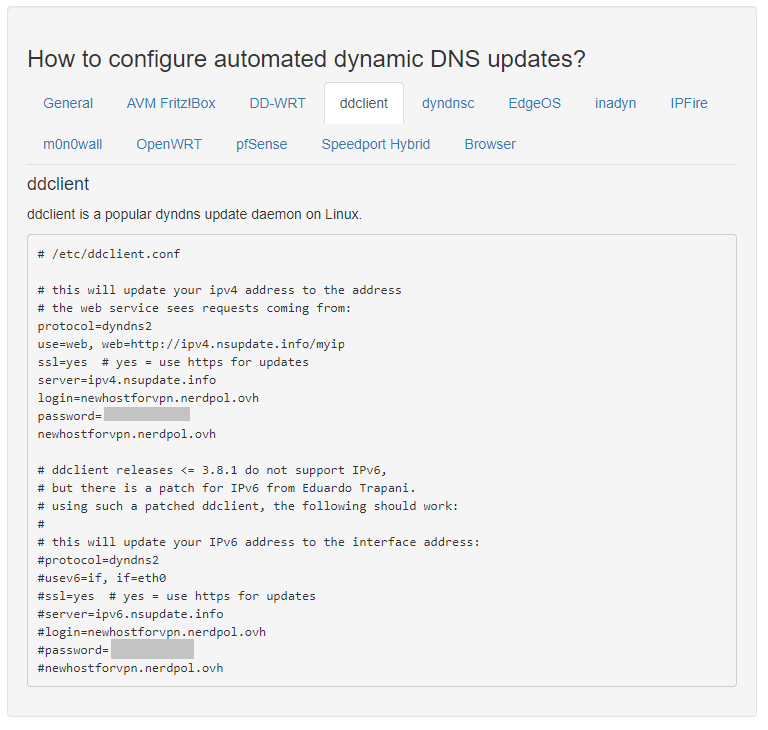
I created a DynDNS account at Nsupdate.info. Decisive for me was the simple implementation with the DDclient available on Raspbian and the simple login with Github credentials.
Create a DynDNS record at nsupdate.info
Registration with different providers is directly possible, so I chose Github.
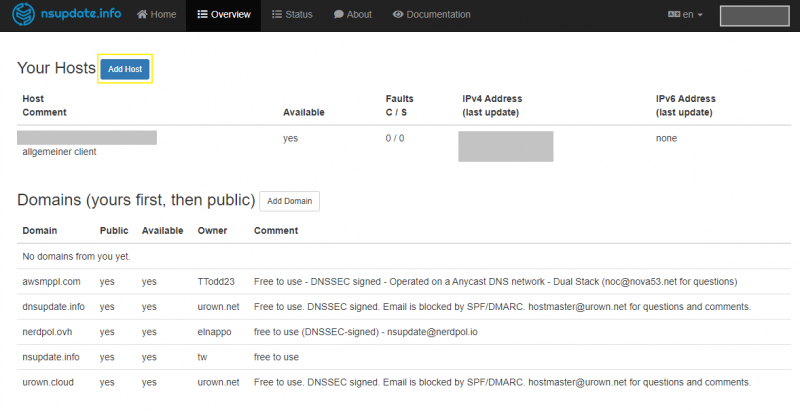
After that, you are directly in an overview where you can create a new entry for one of the available TL domains via the “Add Host” button.
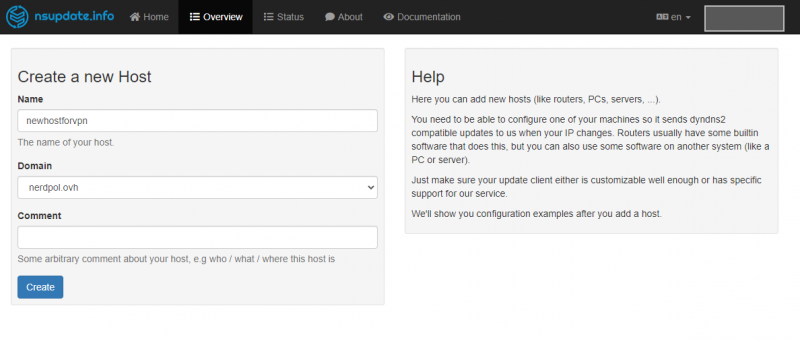
In this step you can specify the domain and of course the desired name and create the entry immediately.
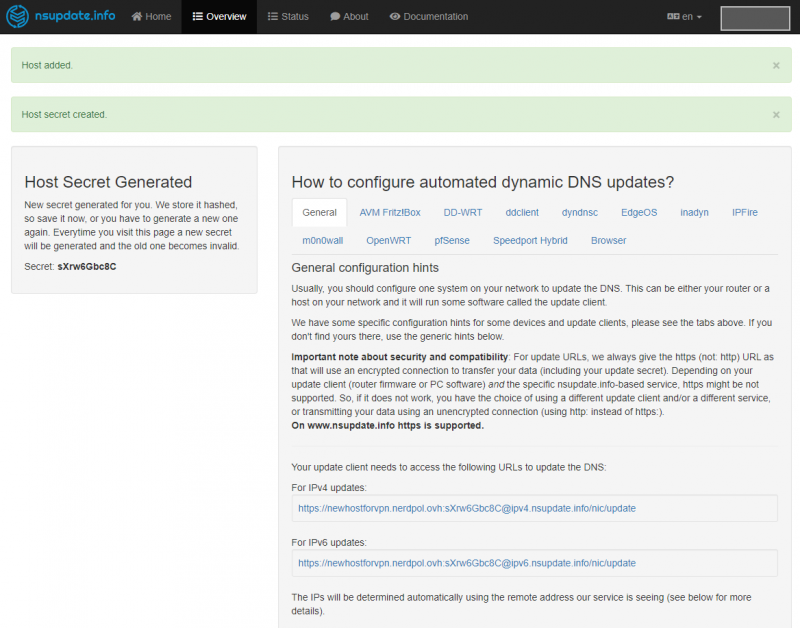
As you can see here, once the alias has been successfully set up, you can view and download the files needed to configure your own implementation, or instructions on how to do so. In my case as described it is the secret for the ddclient.
Step 2 – “There’s no place like home.”
Now that we have completed the setup of a DNS record with a third party provider, we need to continue on the Raspberry. First we bind the public IP address to the DNS entry using the ddclient.
To start the installation on the RPI it is sufficient to execute the command:sudo apt-get install ddclient
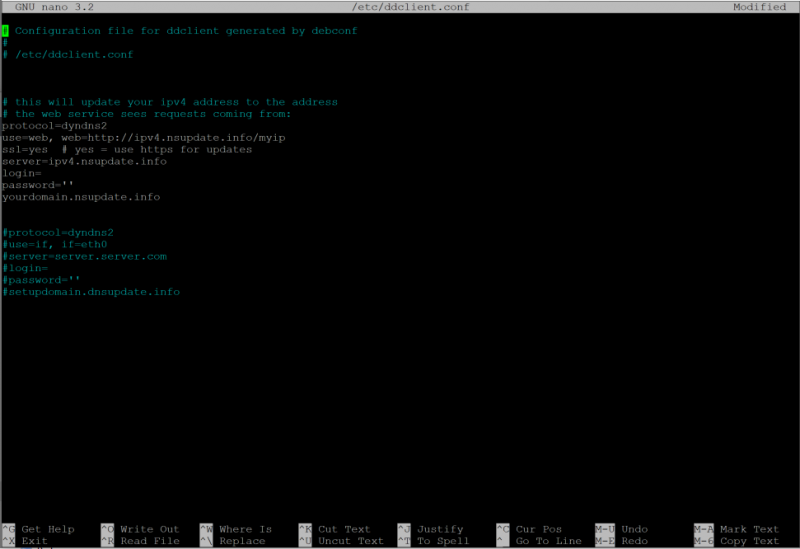
The installation is pretty straight forward and you don’t need to change a lot during the “graphical” installation process, because we’ll change the configuration afterwards directly. To do this, run the command after you finished the installation:sudo nano /etc/ddclient.conf
and insert the settings from the secret you created on Nsupdate.info.
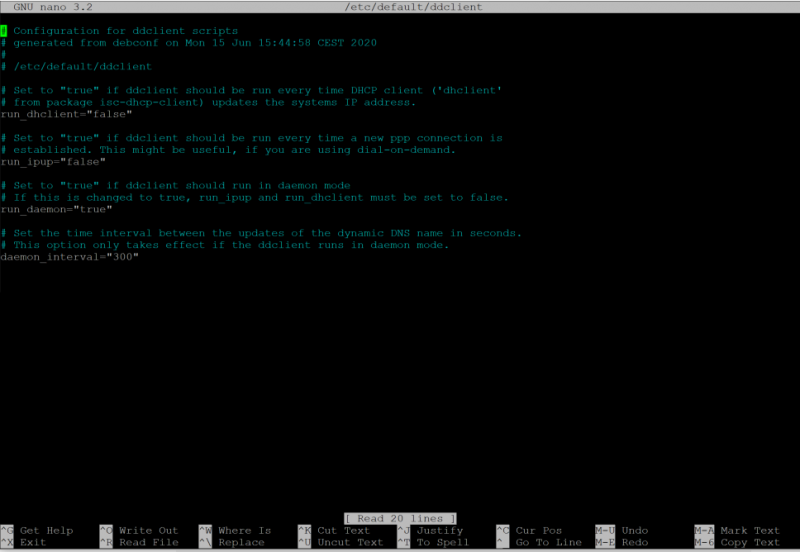
After that the configuration of the ddclient should be adjusted:sudo nano /etc/default/ddclient
This ensures that the client runs in the background and regularly updates the IP.
I have set the interval to 300 seconds, andrun_daemon="true"
configured.
When everything is set, restart the ddclient for the settings to take effect./etc/init.d/ddclient restart
Now the Raspberry sends the IP to the DNS server and another step to set up the OpenVPN access to the own network is finished.
Step 3 – “E.T. phone home.”
Next comes the setup of an OpenVPN server on the Raspberry Pi. For this I decided to use PiVPN in a native installation. The advantage of PiVPN for me is the easy installation. The script-based installation routine provides everything you need to run a simple server and allows you to easily create .ovpn files afterwards. These can be used for a variety of clients, e.g. also on smartphones. But more about that in the second part.
Just startcurl -L https://install.pivpn.io | bash
to trigger the installation on the Pi.
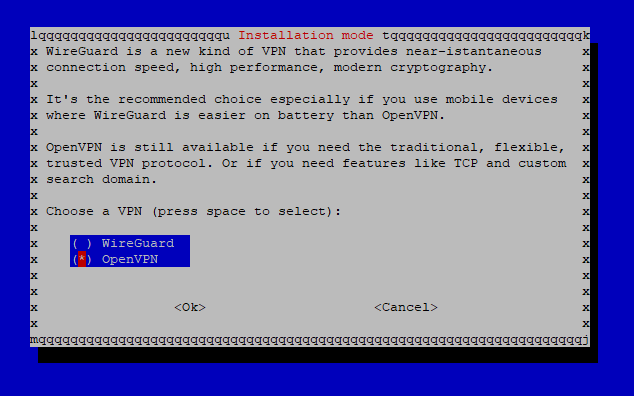
You will be asked for the valid IP settings and whether you want to use WireGuard, or as in our case, OpenVPN.
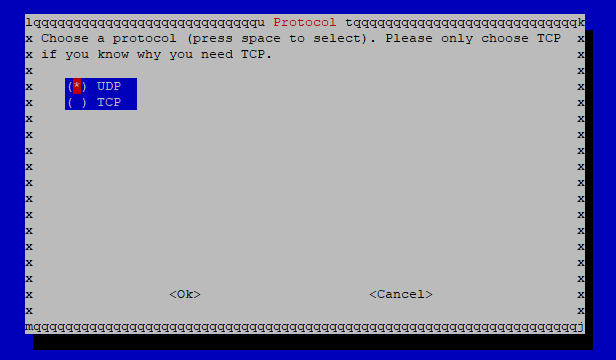
You can choose to use TCP instead of the standard UDP. I have left it with UDP. I also left the port on 1194.

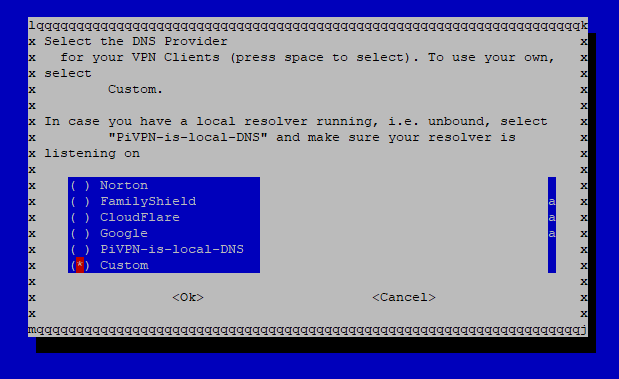
Since I am running PiHole I selected a “custom DNS” server in the next step. This can be different for you depending on your setup. In case of doubt, a reference to your router IP address will also work.
This is followed by the configuration of what the clients should address later, the public IP or a DNS name. Select the previously created DNS name here.
If you have not done so yet, you can manually edit the DNS name later in the created .ovpn files.
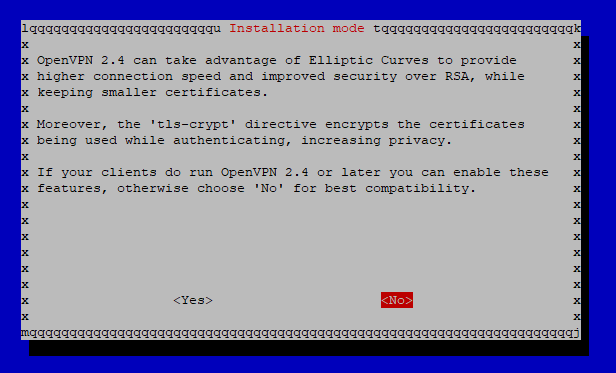
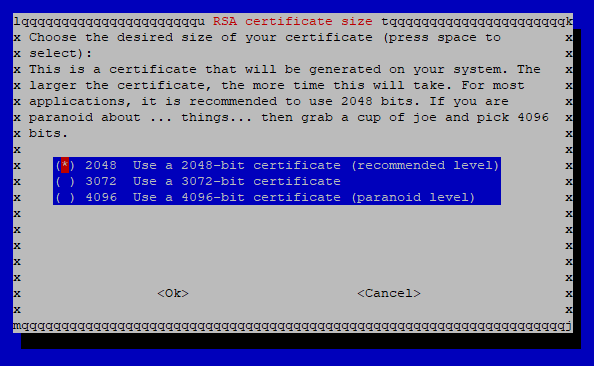
The choice of compatibility affects the possible clients that can access the server. Select the appropriate option here depending on your clients.
After selecting the certificate size, the rest of the installation is performed and the certificates are created. The whole process takes about 4 minutes on a Raspberry Pi3b+ with 2048 bit certificates.
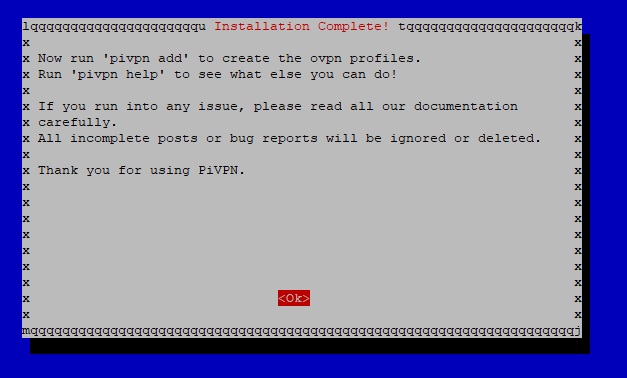
End of Part 1
Good you made it to the end of part 1. Together we created a public DNS entry, installed and configured an agent to update your public IP address to the entry, and installed PiVPN on the Raspberry.
In the second part, I’ll guide you on how to create .ovpn files with PiVPN for use in OpenVPN clients and how to set up a VPN client on pfSense. We will then finally use this to extend our home lab into the cloud.